Hello!
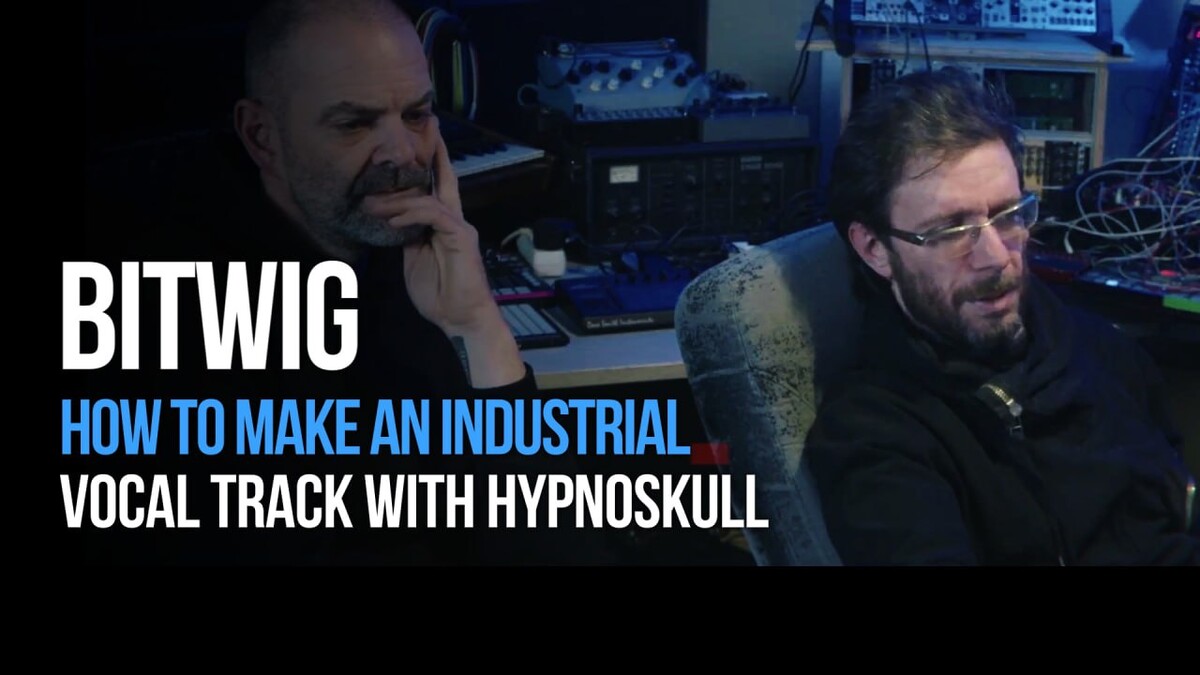
This week we show you a big lesson about creating an industrial vocal track with a highly respected artist - Patrick Stevens, aka Hypnoskull!
We didn't want to miss the opportunity to made this video, so we moved the stream about TouchDesigner and Bitwig updates from 12 to December 15th. Registration link below
You will also find a promotional code specifically for mailing list subscribers and two practical TouchDesigner lessons
Lets go!
How to make the Industrial vocal track with Hypnoskull

Last week, I had the incredible opportunity to meet Patrick Stevens, also known as Hypnoskull, at my studio in Berlin.
Hypnoskull is a highly respected artist who has been making a significant impact in the art and uderground industrial music scene since the early 90s. His artistic activities span a wide range of mediums, including poetry, advocating for artistic freedom of expression, conveying powerful political messages, and delivering impressive hardware-based live performances.
During his visit, we decided to introduce him to Bitwig. Our approach was straightforward yet effective - Hypnoskull would ask questions, and I would eagerly demonstrate how to bring his creative ideas to life using Bitwig. The entire process was recorded on video, and I am thrilled to announce that this lesson is now available for everyone.
Detailed Program
00:00:00 Intro
00:02:41 Open the project
00:04:40 Setting Up the Drum Machine
00:06:40 E-Kick
00:07:49 E-Snare
00:11:21 Drawing MIDI Notes
00:13:57 Instrument Layer for the KickDrum
00:17:04 Inroducing Modulations
00:23:19 Step Modulator
00:25:48 Multiband FX 2 for the Kick processing
00:26:54 Equalizer+
00:28:28 Adding Distorion
00:29:19 Using the Random Modulator to make the Distorion Filter alive
00:30:42 Using ADSR for Mix the Level of Distortion in time
00:31:51 Filter+ Effect
00:32:49 Inroducing the Remote Controls
00:37:54 Adding the Convolution Reverb for the FX Channel
00:38:57 E-Hats Device
00:40:39 Working with MIDI Notes: Velocity
00:41:43 Working with MIDI Notes: Velocity Spread
00:42:08 Note Expressions Modulator
00:45:35 Creating the new Audio Track for the Hi-Hat Recording
00:45:59 Record the Audio Sample
00:46:31 Fold to Takes
00:48:04 Selecting final Audio from Takes - Comping
00:50:37 Slice to Drum Machine
00:51:11 Slice to Multi Sample
00:54:38 Working with Multi Sample
00:56:07 NoteFx: Randomize Pich for Saьple Selection
00:59:38 Sound Card Settings
01:02:05 Recording events to the Arrangement
01:05:37 Spectral suite - Freq Split
01:07:31 Spectral suite - Volume Split
01:09:12 Add the Distorion to the Loud Chain
01:10:43 Add the Amp to the Mid Chain
01:12:46 Add the Vocoder to the Quiet Chain
01:15:10 Recording the Voice
01:20:57 Clip Automation
01:23:18 Track Automation in the arranger
01:28:15 Building the Dynamic Equalizer
First course about AudioVisual production using Bitwig & TouchDesigner

Learn more and enroll
Demystifying TouchDesigner's SOP Operators
We CONTINUE to post the video lessons about the most mystic and underrated TouchDesigner Operator Family - SOPs aka Surface Operators
In the 7 part of our series of free lessons about TouchDesigner SOP Operators, we start learning the tools that allow us to cut geometry:
Boolean SOP, Carve SOP and Clip SOP.
Just a friendly reminder that TouchDesigner was built on the 3D engine, so understanding the usage of SOPs is super important if you want to reach pro level.
Keep up the good work!
00:00 - Intro
00:42 - Boolean SOP
02:58 - Carve SOP
06:38 - Clip SOP
Subscribers to our mailing list can download the project file using the button below:
subscribe to the newsletter to download project files
|
|
6.79 KB |
10 minutes tutorial
004. TouchDesigner.
In this small tutorial we cover the technique -
how to play the Audiosamples using CopyCHOP with pitch control
It's all for today
If you have some ideas or questions - write about it in the comments cause we are interested in your opinion and suggestions
Also we will be glad if you tell your friends about our newsletter
Join our social networks to observe other faces of our activities and work:
Hou2Touch:
Stanislav Glazov:
Sincerely yours, Hou2Touch team

please authorize